So, you want to create amazing product images—right? With DIY clothing product photography, you might feel like a few challenges are in your way: lighting, backgrounds, and the big question: “Is my smartphone good enough, or do I need a DSLR?”
We’re here to help you nail DIY clothing product photography, even without a fancy setup. With some key fundamentals, you can create stunning images without breaking the bank. Let’s dive in!
Inconsistent Lighting
In DIY clothing product photography, we all know lighting is essential, but it’s often underestimated. My first attempt with natural light was a disaster. If you’ve tried shooting by a window only to find light shifting mid-shot, you’re not alone.
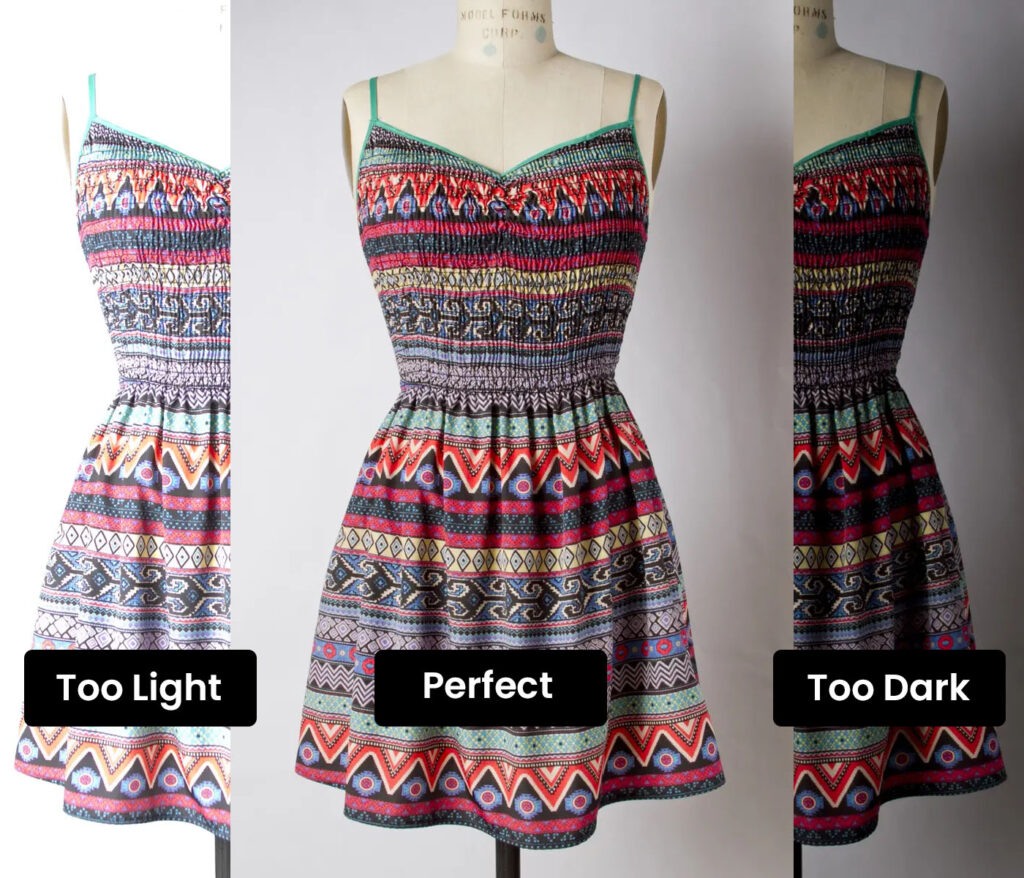
The inconsistency of natural light makes it hard to achieve the professional look that DIY clothing product photography needs.
So What is the Solution?
Do we need to become lighting wizards? Not quite. Here’s how to handle lighting for DIY clothing product photography.
Reflectors to the Rescue
A reflector is an affordable tool that’s especially useful in DIY clothing product photography. Simply bounce light back onto your subject using something like white foam board or even paper for soft, flattering lighting.
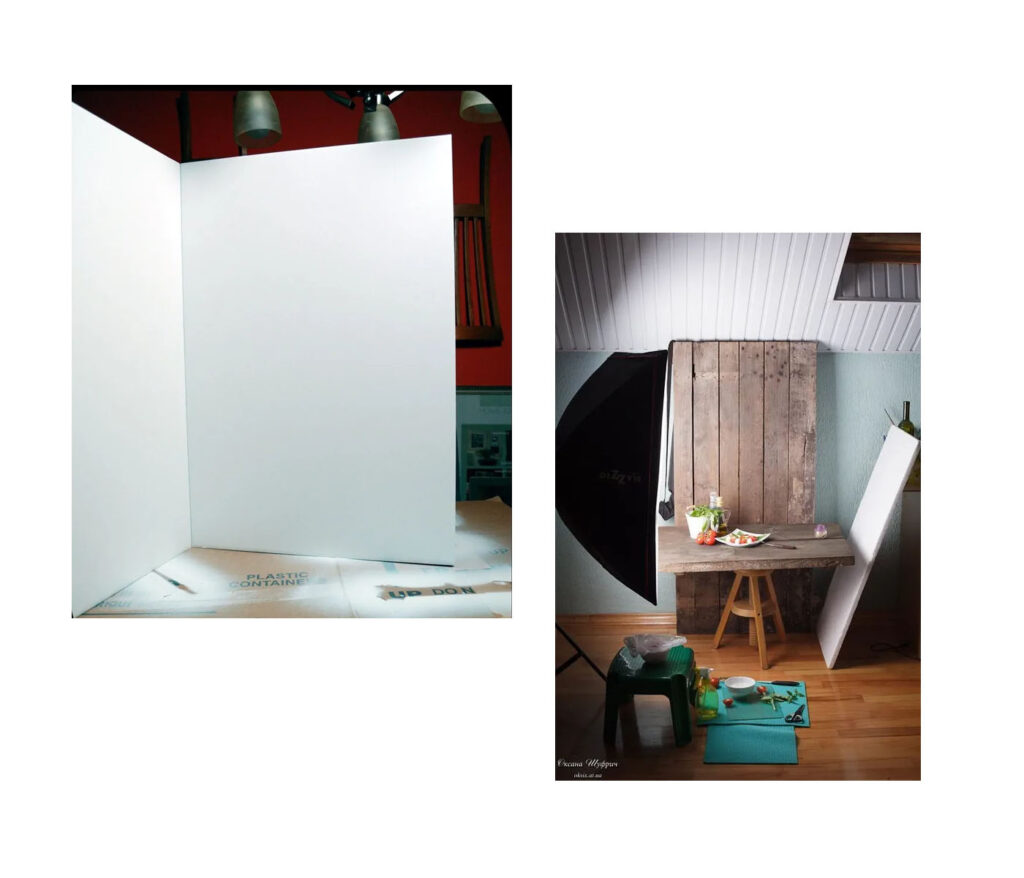
By placing it opposite your light source, you can bounce light back onto your product, filling in shadowy areas and creating a flattering, even illumination. It’s a simple yet highly effective way to elevate your photos.
You’ve also likely noticed that achieving uniform lighting without professional equipment can be challenging, often resulting in shadows or overexposed areas.
Uniform Illumination Without Pro Gear
Professionals can adjust the intensity of their lights and often use modifiers to shape and soften the light. Without these tools, you may end up with harsh shadows and blown-out highlights, especially if you’re using a direct light source like a bare bulb.
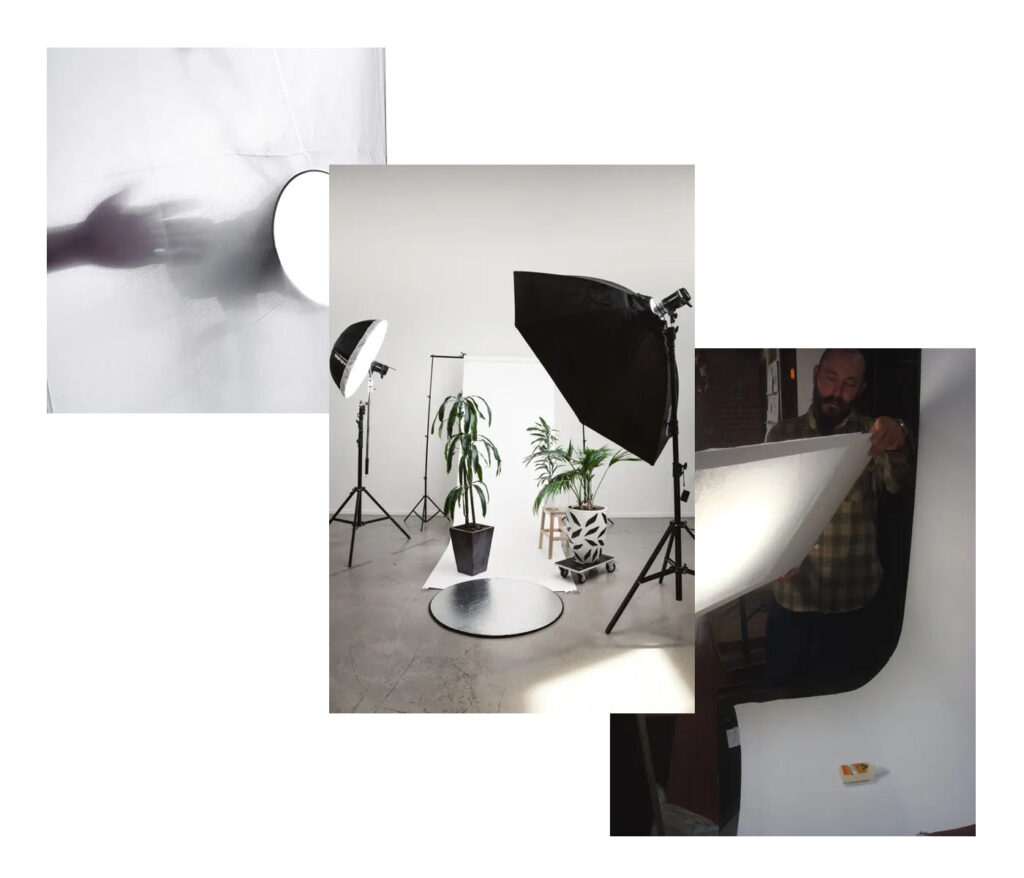
One simple trick to soften the light is to diffuse it. Try hanging a thin white sheet or a piece of diffusion material in front of the light. This helps to spread the light more evenly, creating a softer, more flattering look.
You could also try using multiple light sources. Rather than relying on a single strong light, place a couple of lamps with lower-wattage bulbs on either side of your product. This setup creates a more balanced and dimensional look, helping to even out shadows and enhance the overall quality of your photos.
Understanding Colour Temperature
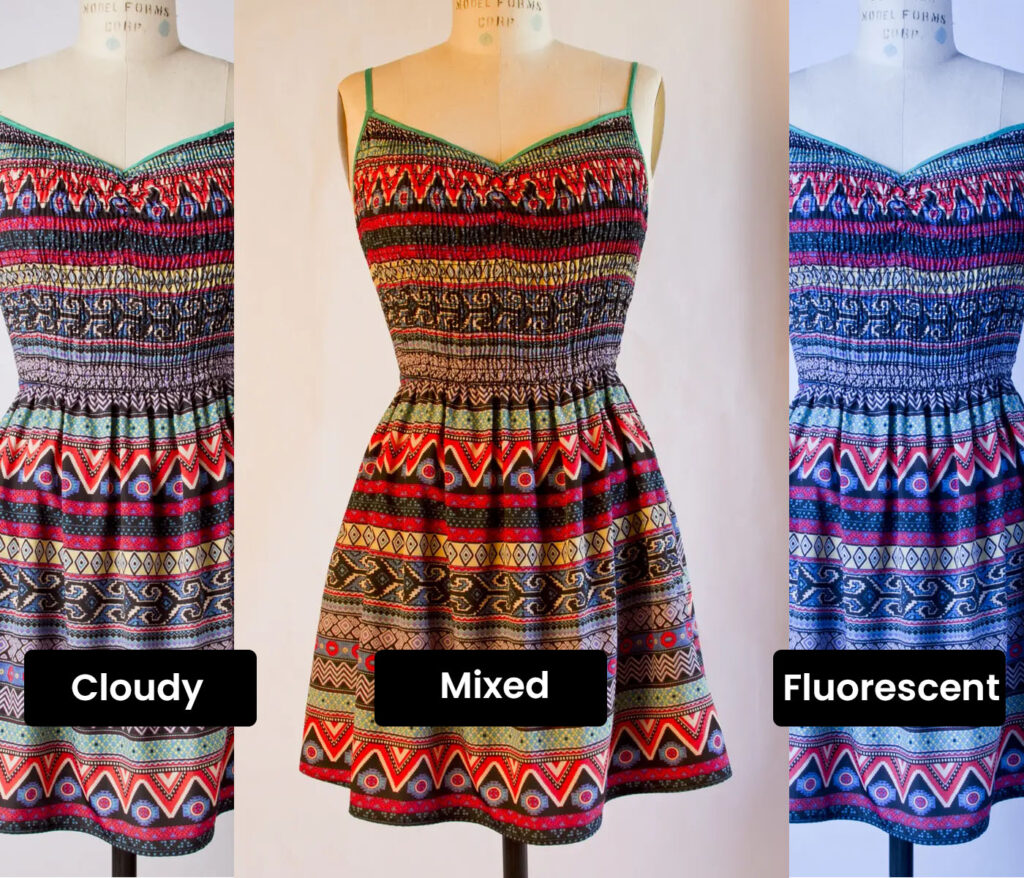
Understanding colour temperature can be a bit confusing at first. Think about the difference between candlelight and the light on a cloudy day – candlelight feels warm and cosy, while a cloudy day has a cool, almost blue tone. This difference is due to colour temperature. In photography, getting the colour temperature right is crucial because it ensures your product looks exactly as it does in real life.
Have you ever ordered clothes online, only to find the colour is completely different from what you expected? This often happens due to lighting differences. For example, if you’re shooting near a window with natural light while also using indoor lights, you’re mixing daylight, which tends to be cool, with warm artificial light. This mix can create an unusual colour cast, making a white shirt look yellowish or a red shirt appear orange. Such lighting imbalances can really distort the true colours of your product.
So Do We Need to Become Experts to Figure This Out?
Not at all. The first step is simply becoming aware of your light sources. If you’re using natural light, be sure to turn off indoor lights to avoid mixed colour temperatures. Try using bulbs with a consistent colour temperature, and, if possible, opt for photography-specific bulbs that emit a neutral, daylight-balanced light.
And then, of course, there’s editing. Most editing software includes a white balance adjustment, which helps correct any colour inaccuracies. While tackling lighting is essential, it does take time—which, let’s face it, is in short supply for most of us!
Making the Most of Your Time
Time is precious, so being efficient and strategic with your photography is essential. Don’t hesitate to experiment with different options to find what works best for you. It might be worth investing in a few basic lighting tools, like adjustable lamps or a simple lightbox, and learning some basic editing techniques to quickly correct minor issues.
Putting in a little time upfront can save you a lot in the long run. Every minute spent adjusting lighting or fixing issues in editing is time taken from other areas of your business, like marketing, product creation, or customer engagement. As an alternative, you might consider using AI Photoshoot to streamline the process.
Background Issues
In DIY clothing product photography, a cluttered background distracts from the product. Opt for clean, simple backgrounds that keep the focus where it should be—on your product..
Clean, Uncluttered Backgrounds
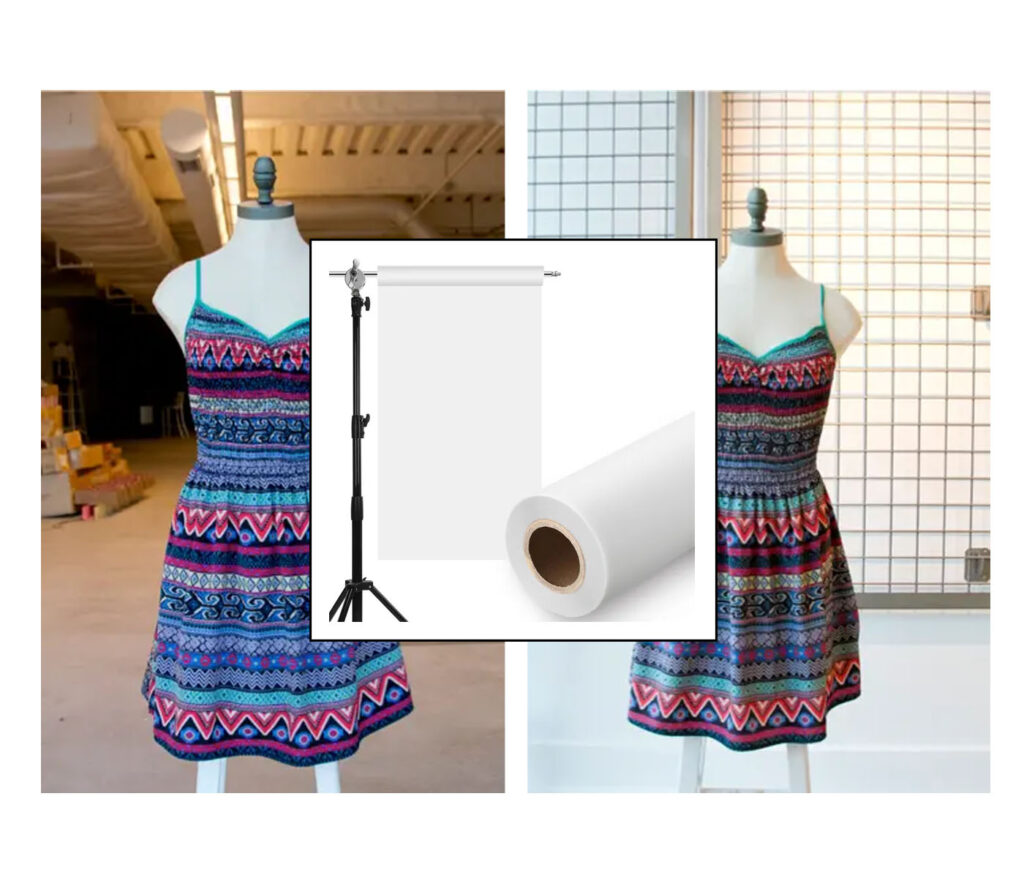
A clean, simple background is essential, but not everyone has access to a studio. Have you considered using a backdrop? It’s basically a large sheet of material you can hang behind your product to create a smooth, distraction-free background.
DIY Backdrop Ideas
You can buy professional backdrops made from seamless paper or muslin, designed specifically for photography. But there are also plenty of DIY options:
- Large White Poster Board: Ideal for small products, giving a seamless look.
- Foam Core Boards: Lightweight and able to stand on their own.
- Craft Paper or Butcher Paper: Available in large rolls and multiple colours.
Handling Unexpected Distractions
What if you can’t get it right on the first try? Sometimes, a stray object might sneak into your shot, like your shoes, and editing it out later can be tricky. The best approach is to set things up correctly from the start—being proactive instead of reactive saves time. However, you could also try AI Photoshoot to simplify this process.
Editing Tips for Backgrounds
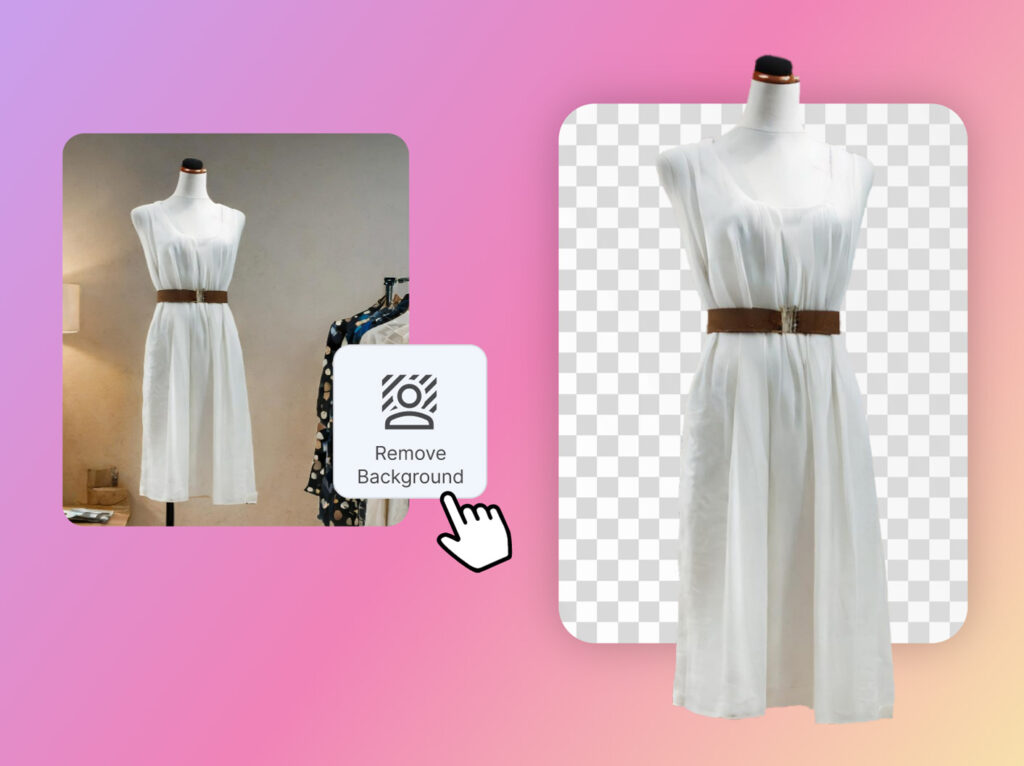
You don’t need to be a Photoshop expert to adjust your background. Many photo editing tools, including free apps like Snapseed or websites like Remove.bg, offer features to remove unwanted objects, blur the background, or replace it with a solid colour.
Consistency is Key
Keeping backgrounds consistent across all your products is vital, especially if you have an entire range. Imagine browsing a shop where each product has a completely different background, it would feel chaotic and visually overwhelming.
How can we achieve this without a studio? Choose a single backdrop you can use across all product shots. This might be a plain white wall, seamless white paper, or even a consistent setting for lifestyle shots. AI Photoshoot is another option for uniform backgrounds.
What If I Want to Shoot Outside?
In that case, choose locations with a similar look and feel:
- Rustic Vibes: Wooded areas, natural elements like rocks and trees.
- Modern Minimalist: Urban spots with clean lines and neutral tones.
The goal is to create a cohesive, visually connected feel across all your images.
Editing for Cohesion
Editing your photos consistently also plays a huge role. Using similar editing styles and colour tones will unify your images, giving your product line a cohesive, professional look.
Smartphone Limitations
Are Smartphones Good Enough?
It’s a question we hear often. While smartphones have come a long way, they do have some limitations, especially for product photography.
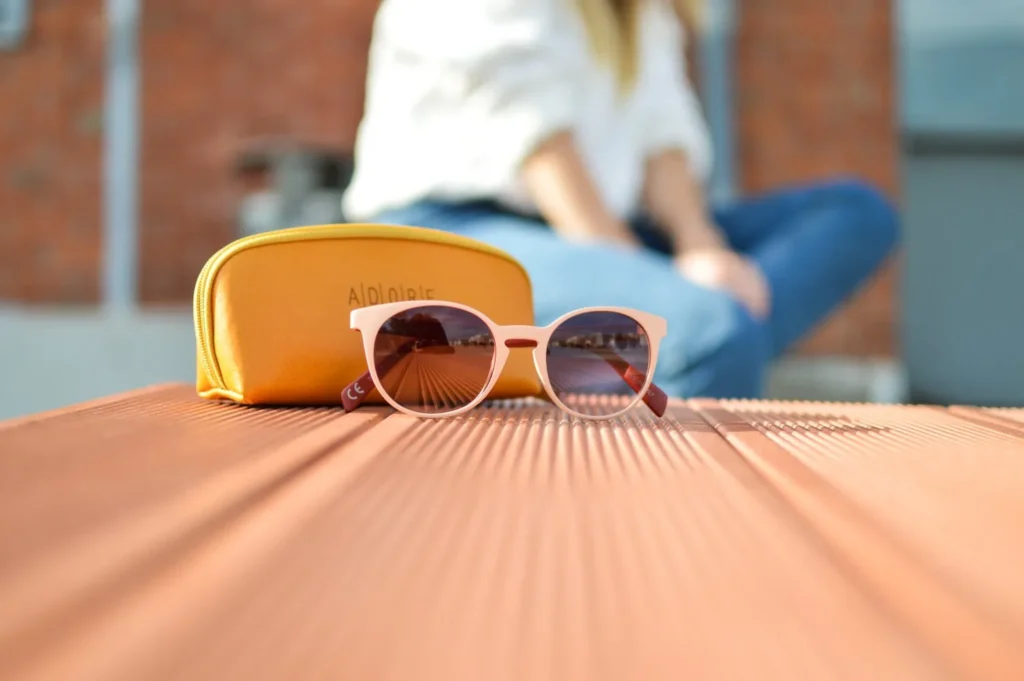
Depth of Field: Achieving that desirable blurred background that makes your product stand out is more challenging, as smartphones generally have fixed apertures.
Low-Light Performance: With smaller sensors, smartphones capture less light, which can lead to grainy or blurry images in low-light conditions.
Lens Flexibility: Unlike DSLRs, smartphones ship with fixed lenses, so you can’t switch lenses for different scenarios, limiting your shooting options out of the box.
So, Are We Doomed Using Smartphones?
Not at all! With a bit of planning and strategic thinking, smartphones can still be excellent tools for product photography.
Smartphone Photography Tips
Manual Settings: Step out of automatic mode and adjust exposure and white balance manually to gain better control over your images.
Focus Control: Tap to focus directly on your product, which is especially useful for close-up shots.
Use Accessories:
- Tripods: Stabilise your phone to prevent blurring.
- Reflectors: Bounce light onto your product for better illumination.
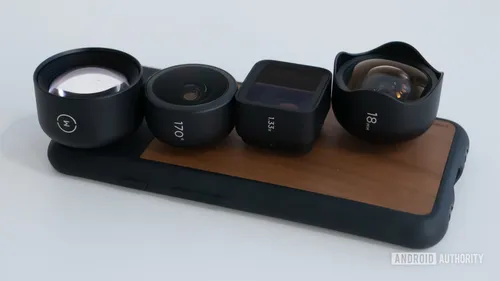
- Clip-On Lenses: Try macro lenses for close-ups and wide-angle lenses for broader shots.
With these adjustments and tools, you can capture high-quality product images using just your smartphone!
Gadgets to Enhance Your Smartphone Photography
A small tripod can be a game-changer, especially in low light. It keeps your phone steady, reducing blur and helping to capture clearer images. Affordable options are available specifically for smartphones.
Additionally, a simple piece of white cardboard as a reflector can work wonders by bouncing light back onto your product. This is an easy, budget-friendly way to improve lighting without investing in expensive equipment. Or, if you want to simplify even further, consider using AI Photoshoot.
Exploring Lens Options
There are several clip-on lenses available for smartphones, providing greater flexibility:
- Macro Lenses: Ideal for capturing detailed close-ups.
- Wide-Angle Lenses: Perfect for including more of the scene.
- Fisheye Lenses: Great for a quirky, distorted effect.
These lenses are far cheaper than investing in a DSLR with multiple lenses, making them a fantastic option if you’re just starting out or working with a budget.
Making Your Photos Stand Out
Now, let’s talk about making your DIY product photos truly stand out. In a world where everyone’s a “photographer,” how do you capture attention and make your product pop? One key approach is to embrace the DIY aesthetic, leaning into the personality and story of your brand rather than aiming for a perfectly polished, sterile look.
Lifestyle Photography
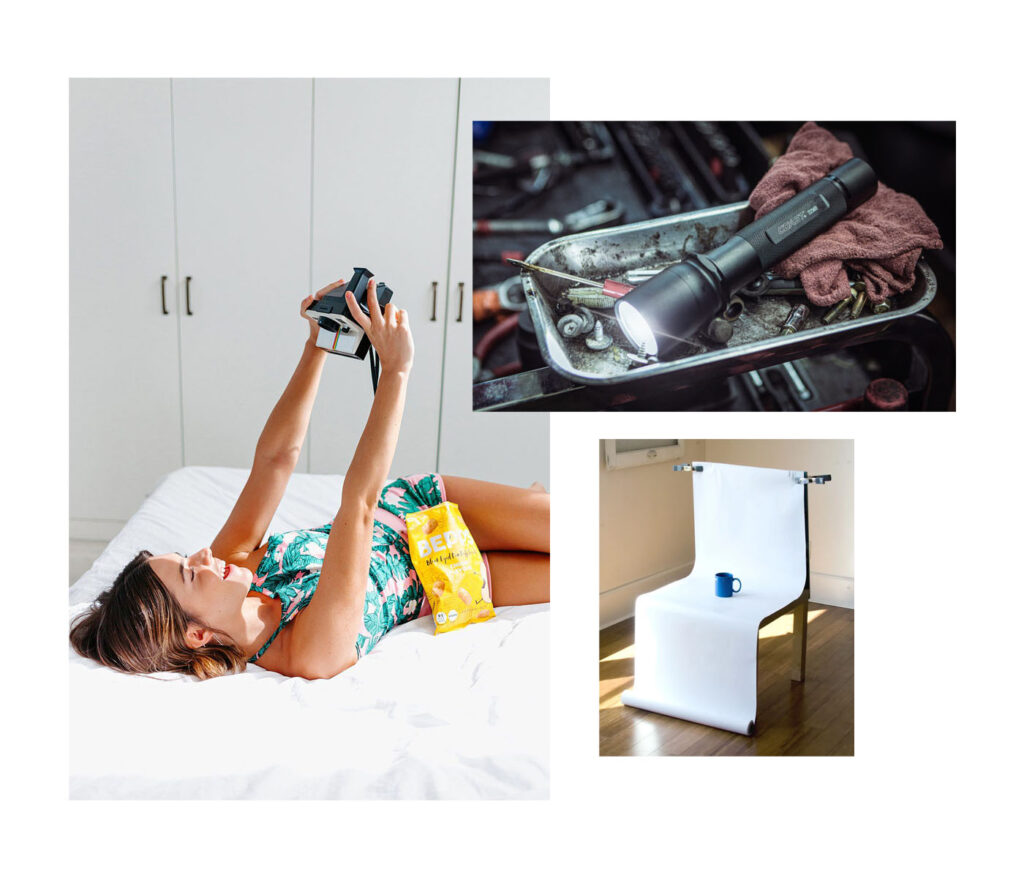
Focus on authenticity over perfection. Think of it like visiting a friend’s home, you don’t expect it to look like a showroom. Personal touches make it feel welcoming and warm. The same goes for product photography. Instead of placing a scarf on a plain white background, try draping it over a chair to give it a cosy, lifestyle vibe.
Purposeful Props
Props can add personality, but they shouldn’t be random. Each element should serve a purpose – highlighting a feature, reinforcing your brand, or adding to the story. The trick is not to overdo it; too many props can create visual clutter. It’s a bit like decorating for a party, start small, and build with intention. Creating some DIY product photography guidelines can be helpful here to keep your shots focused and balanced.
Creating Visual Brand Guidelines
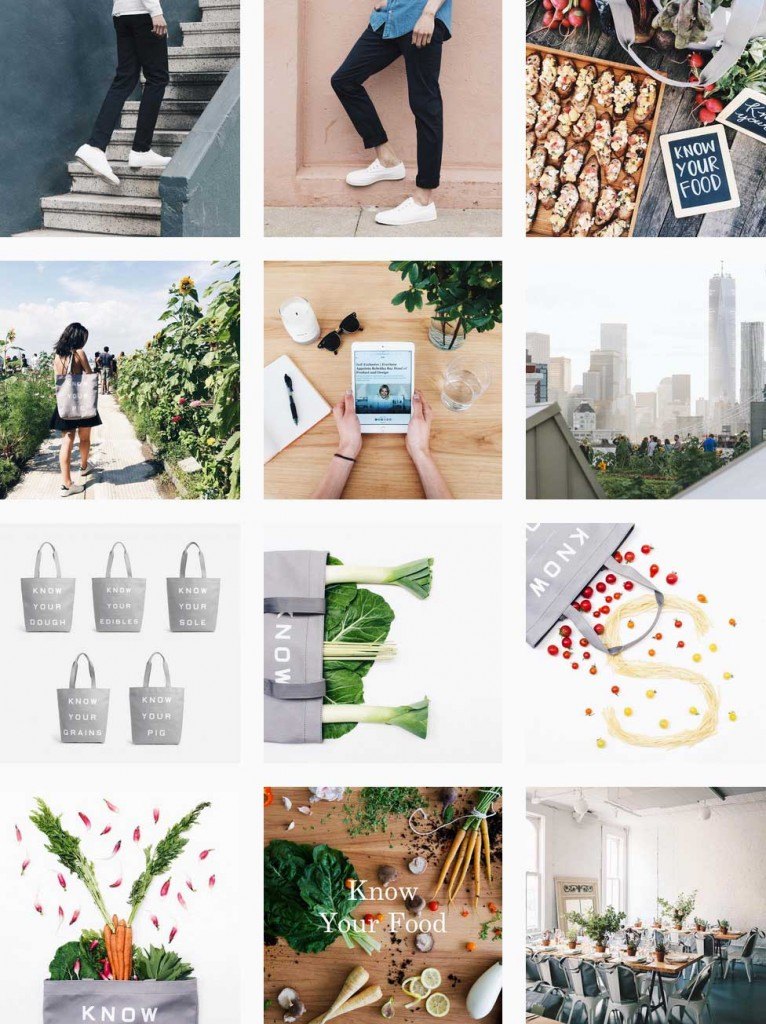
Having a clear vision for your brand’s aesthetic helps you make intentional choices around props, lighting, and even photo editing, bringing consistency to your visuals.
Consistency and Style
Think of this as a “cheat sheet” for your product photography. Define your preferences for:
- Lighting Style: Do you prefer natural or artificial light? Soft light or dramatic shadows?
- Backdrop and Colour Palette: Which colours represent your brand? Use them in your backgrounds and props.
- Camera Angles: Do you shoot from above, straight on, or at a slight angle?
Writing all of this down helps create a consistent visual language for your brand.
Benefits of Guidelines
Whether you’re shooting at home, in a coffee shop, or having someone else assist, referring back to these guidelines ensures that your images maintain a cohesive look and feel. As your business grows and tasks are delegated, these guidelines help uphold that consistency. They make your brand look professional, foster recognition among customers, and ultimately help customers connect more easily with your products.
Capturing the Details
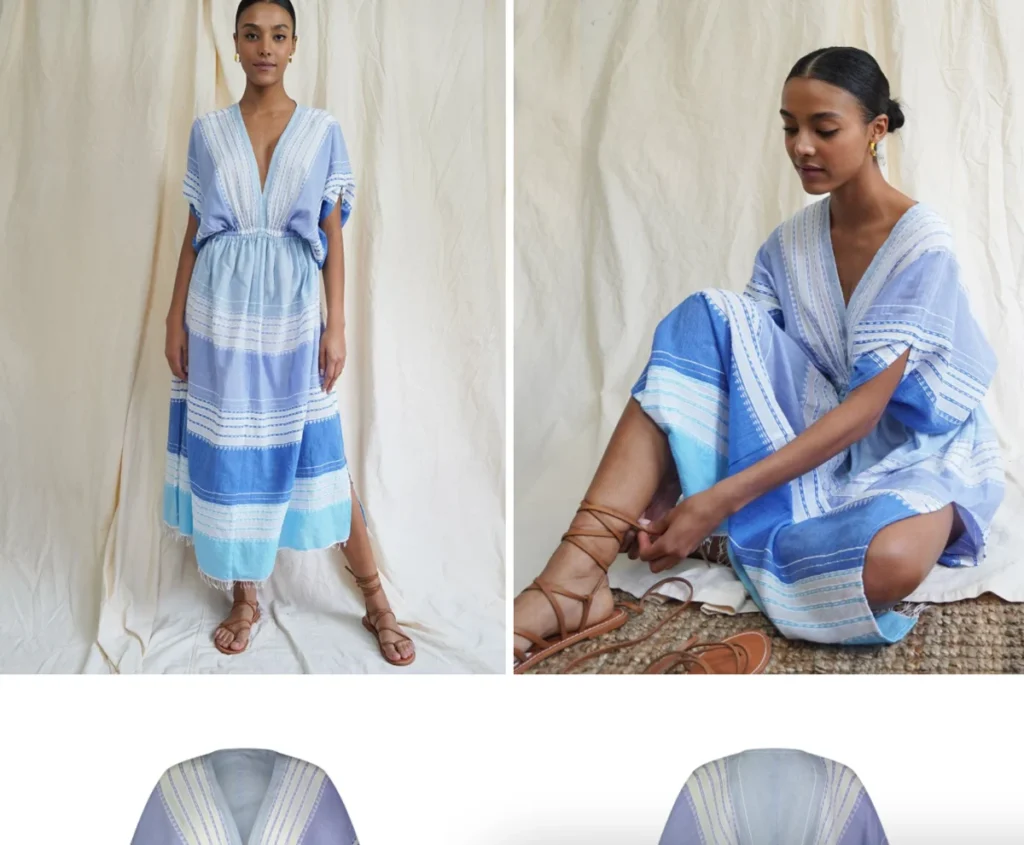
It’s all about guiding the viewer’s eye, showing them what to appreciate and helping them see what makes your product unique. Don’t hesitate to get up close and personal with your product.
Close-Ups: Capture unique features like fabric texture, stitching, or distinctive design elements to showcase the finer details.
Embracing the Journey
DIY product photography won’t be perfect right away – it’s a learning process. Don’t be hard on yourself if your first photos aren’t flawless. Give yourself permission to experiment, make mistakes, and most importantly, enjoy the process.
The more you practice, the better you’ll get, and that’s where the real reward lies. It’s incredibly satisfying to see your skills improve and your unique style develop over time. However, if balancing photography with other business demands becomes overwhelming, consider using AI Photoshoot to save time and money where it best fits your needs.